Mold in Austin Homes: Why It Happens, Where to Look, and How to Stop It
If you've found mold in your Austin home, you're not dealing with a housekeeping problem. You're dealing with a moisture problem. The mold is the symptom. What produced it, persistent humidity, a failed substrate, a slow leak, or a vapor path through a concrete slab, is what needs to be addressed. Fix the moisture source and mold doesn't come back. Leave it, and the mold will return regardless of how thoroughly you clean the surface.
Austin makes this harder than most markets. The city's humidity profile is meaningfully different from the national baseline, and a significant portion of central Austin's housing stock was built before moisture management practices caught up to that reality. This article covers where mold hides in Austin homes specifically, how to tell whether you have it, what the remediation decision actually involves, and what changes during a remodel that prevents it from recurring.
Humidity above ~60%, a leak, condensation, or ground vapor.
Drywall paper, wood framing, insulation: what homes are built from.
Above roughly 40°F, which is year-round in Austin.
Remove any one condition and mold cannot grow.
Temperature isn't controllable, and organic building materials aren't going away. Moisture control is the entire strategy, and Austin's climate makes it a harder problem than most U.S. cities face.
Why Austin has a mold problem
Austin's climate is the starting point. The city sits at the intersection of Gulf Coast humidity and Central Texas heat, a combination that keeps indoor humidity elevated for a significant portion of the year and creates condensation conditions inside wall assemblies that most homeowners never see coming.
NOAA estimates. Austin's summer months regularly exceed 80% RH, sustained above the ~60% threshold where mold growth accelerates, and that window lasts considerably longer here than in comparable Texas markets. Dallas homeowners face the same building stock at a meaningfully lower moisture baseline; Denver's arid climate makes mold a minor concern by comparison.
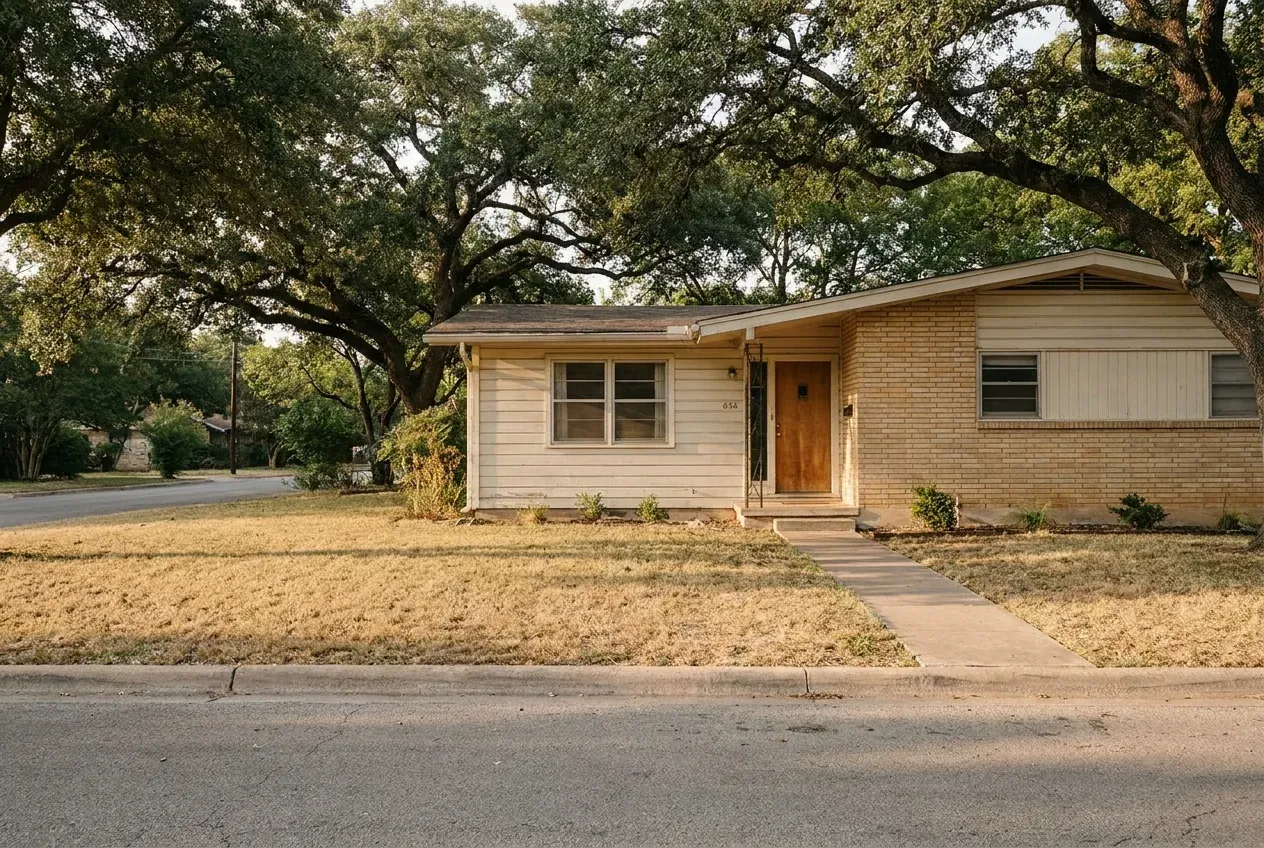
The housing stock compounds the climate problem. A large portion of central Austin's most desirable neighborhoods, Tarrytown, Hyde Park, Clarksville, and Travis Heights, contains homes built between the 1920s and 1970s, decades before modern waterproofing membranes, cement board substrates, and vapor barriers became standard practice. Those homes were not built for Austin's humidity. They were built with materials that absorb moisture rather than shed it.
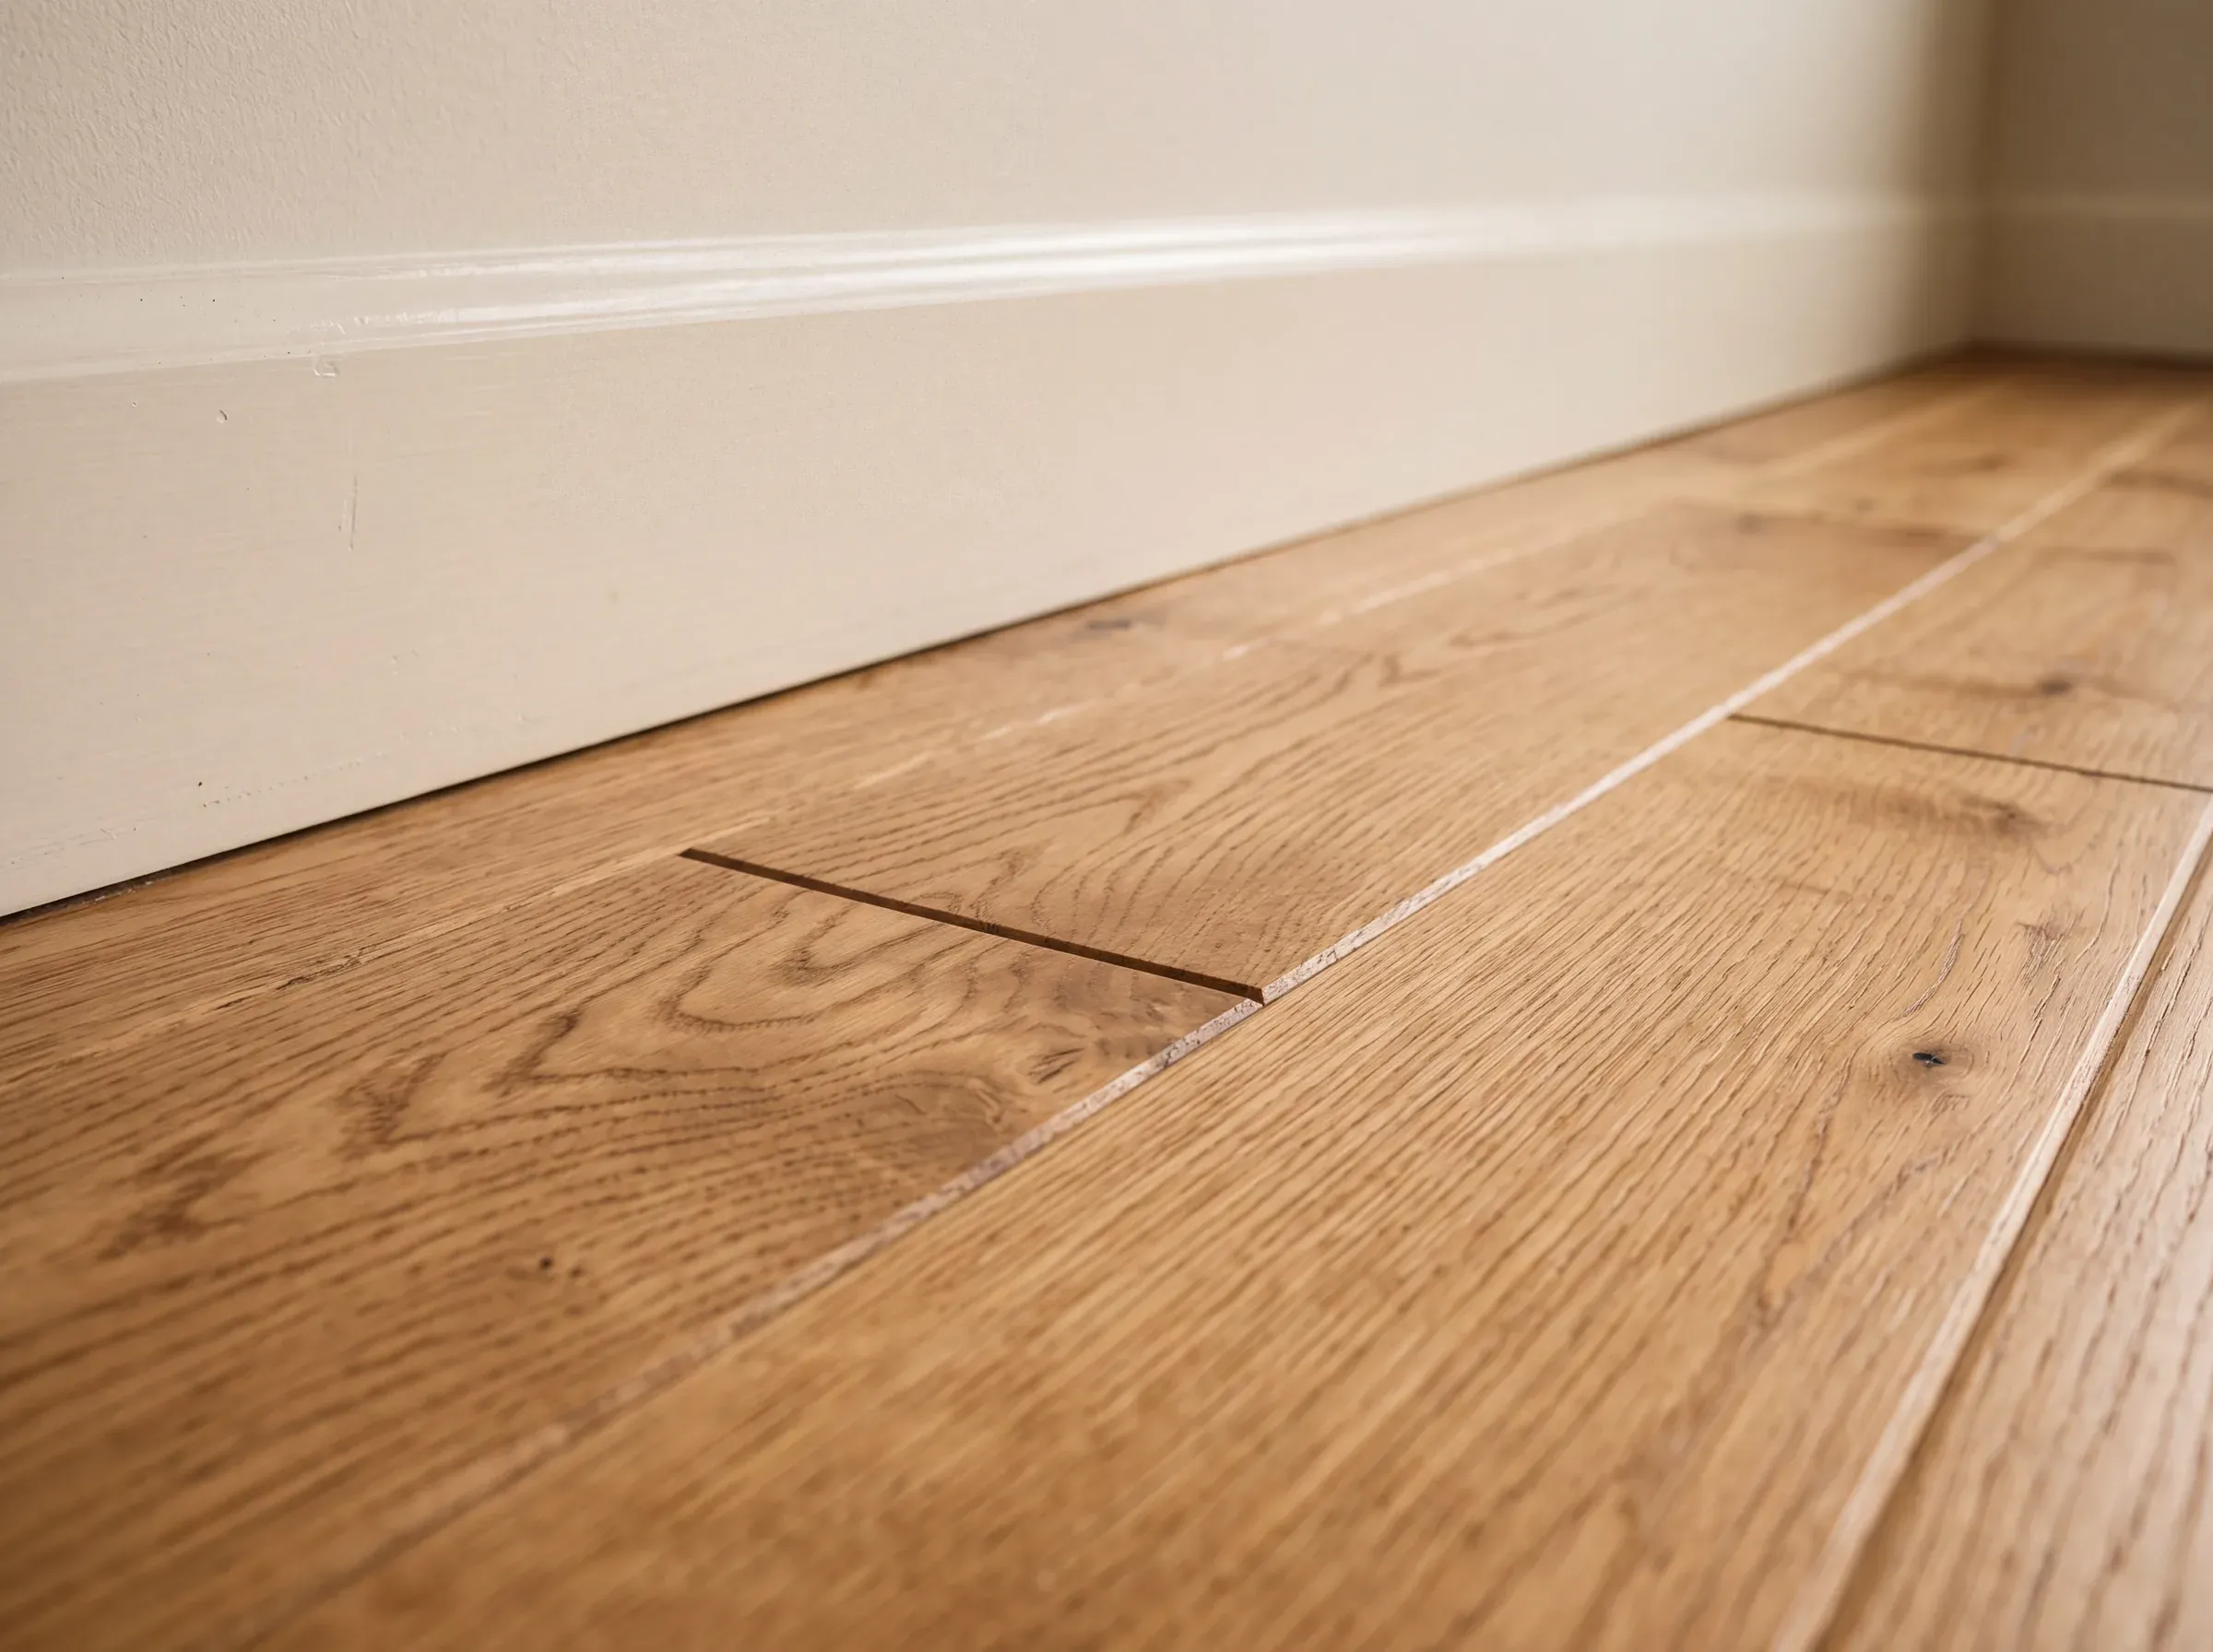
Two additional factors are worth naming. In older central Austin homes with pier-and-beam foundations, direct ground contact beneath the house creates a persistent vapor path that can sustain crawl space moisture year-round. And in newer construction on slab foundations, vapor transmission through concrete is an underappreciated source of moisture, particularly in homes with certain flooring types installed directly over the slab.
Where mold hides in Austin homes
Mold is frequently a hidden problem. By the time it's visible on a surface, it has typically been active behind that surface for months. The locations below account for the majority of mold discoveries during Enso's pre-construction assessments in Austin. Not hypothetical risk areas, but where we actually find it when walls open.
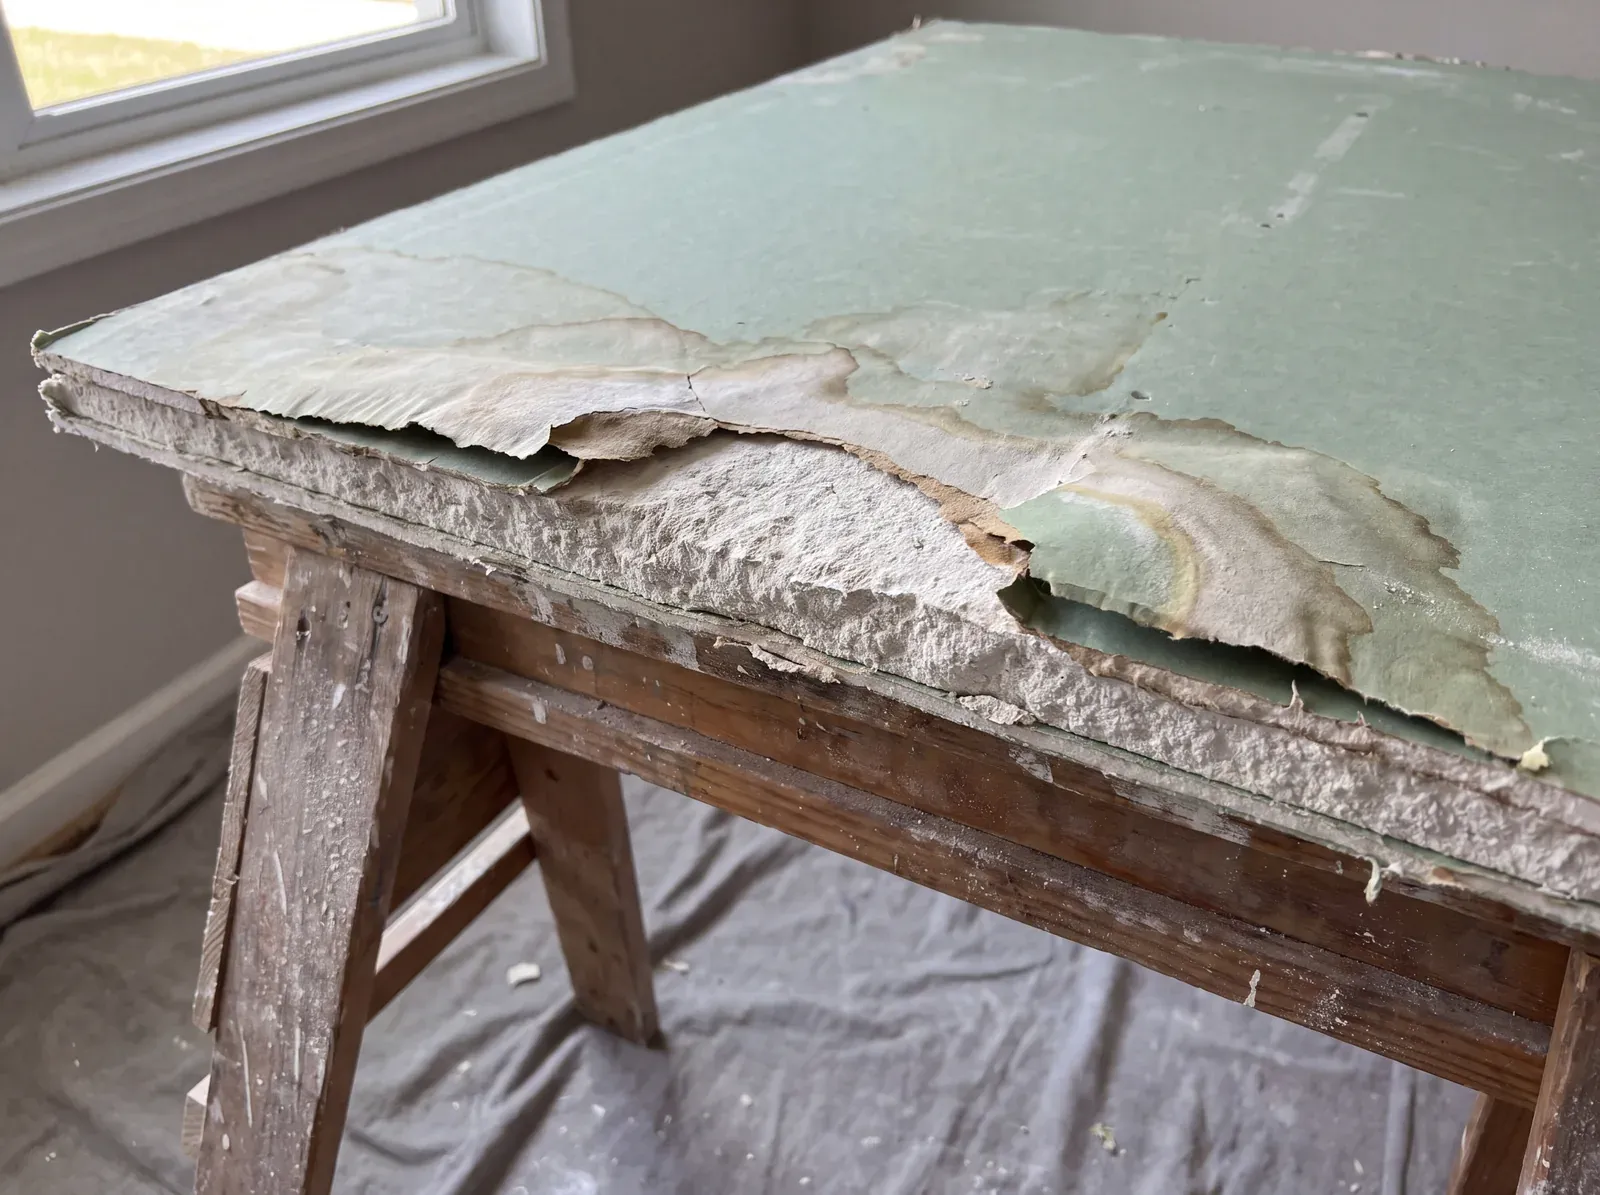
Greenboard drywall, the standard backer in homes built before the early 2000s, absorbs moisture through grout lines every shower cycle. The most common discovery in Austin bathroom remodels.
Repeated minor pooling, a rocking wax ring, water stepping out of the shower, works through grout into subfloor framing over years. Assessment during demo is the only reliable check.
Fans that vent into the attic rather than outside create a concentrated moisture source in the ceiling assembly: mold on framing that's invisible from below. See our fan sizing guide.
Slow weeps at supply shutoffs or drain connections, too small to notice in daily use, can sustain wall cavity moisture for a year or more before anyone checks the back of the cabinet.
Austin attics exceed 140°F in summer. When inadequate ventilation or misrouted exhausts add moisture to that heat, mold develops on roof sheathing: one of the most expensive repairs when found late.
Condensation on single-pane windows in older homes runs into the rough opening. Repeated wetting and drying cycles degrade the adjacent wall cavity, rarely found until a window replacement opens the assembly.
Most older homes in Hyde Park, Clarksville, Tarrytown, and Travis Heights sit on pier-and-beam. Without a vapor barrier, floor framing stays damp through the humid seasons. The most commonly missed location.
Failed caulk joints and flashing let water into wall cavities where it travels downward, often far below the entry point. Exterior remodels are the primary opportunity to assess and correct these conditions.
How to tell if you have mold
Visible mold is the obvious indicator, but it's often not the first one. Most homeowners who discover mold behind walls during a remodel had no visible mold at all. They had other signals that something was wrong. Here's what to look and listen for.
When to schedule a professional inspection: if you see three or more of these signals in the same room, or any of them without an obvious source, an inspection is appropriate. The cost is minor relative to what early detection saves in remediation scope.
Found mold, or suspect it's there?
The design phase is where we assess what's behind the walls before anything else happens, so nothing surfaces mid-construction.
What to do when you find mold
The decision of how to respond depends on where the mold is and what it's growing on. Surface mold on a non-porous material is a different problem from mold inside a wall cavity, and the most common mistake is applying the surface response to a cavity problem.
Surface mold on a non-porous material, under 10 square feet
The one case where careful DIY remediation is appropriate.
N95 mask, gloves, and eye protection; seal the area before cleaning; use an EPA-registered antimicrobial. The step that makes it stick: find and correct the moisture source, or the cleaning is temporary.
Behind tile or drywall, or inside a wall cavity
Professional remediation. If removal requires demolition, it requires a professional.
Negative pressure containment, material removal, antimicrobial treatment of framing that can be saved, and a post-remediation clearance test. The substrate itself remains unless it's replaced, which is why this is often not the last step.
In a wet area with a failed substrate
Remodel scope: remediation plus substrate replacement in one project.
Cement board and a waterproofing membrane replace the greenboard, and the moisture source is corrected permanently during the rebuild. The work overlaps substantially with a bathroom remodel, which is why the two are often best scoped together.
What each approach actually addresses
| Attribute | Surface clean only | Remediation only | Remediation + rebuild |
|---|---|---|---|
| Mold removed | ✕ Surface only; cavity mold untouched | ◐ Cavity mold addressed, substrate remains | ✓ Full removal including substrate and framing assessment |
| Moisture path | ✕ Source unchanged; mold returns | ◐ May be partially addressed depending on scope | ✓ Identified and corrected during the rebuild |
| Substrate | ✕ Greenboard or failed substrate remains | ◐ Cleaned but not replaced; still absorbs moisture | ✓ Replaced with cement board and waterproofing membrane |
| Long-term result | ✕ Mold returns, typically within 1–2 seasons | ◐ Extended window before recurrence, but not permanent | ✓ No organic substrate left for mold to feed on |
| Right for | Only true surface mold on non-porous materials | Framing or concrete that can't be removed | Any wet area with a failed substrate: bathrooms, kitchens, crawl spaces |
The partial-fix column is where most recurrences originate. Remediating a bathroom wall while leaving greenboard in place removes what's visible today and leaves the conditions for the next cycle.
One practical note on how remediation and remodeling costs relate: if mold is behind bathroom tile and the substrate has failed, professional remediation followed by rebuilding on the same substrate is two rounds of disruption and cost. A remodel that includes proper substrate replacement addresses both in one project. That conversation belongs in the design phase; a 15-minute video call is the right first step when you suspect the scope overlaps with a remodel, and the cost calculator gives a range for the rebuild side in about two minutes.
What changes during a remodel that prevents mold long-term
Austin's humidity doesn't go away. The moisture sources that produce mold in older homes are structural, not behavioral; no amount of ventilation habit or cleaning routine fully compensates for a substrate that absorbs water or a vapor path that stays open. What changes during a remodel is the physical system the home uses to manage moisture.
Substrate and waterproofing
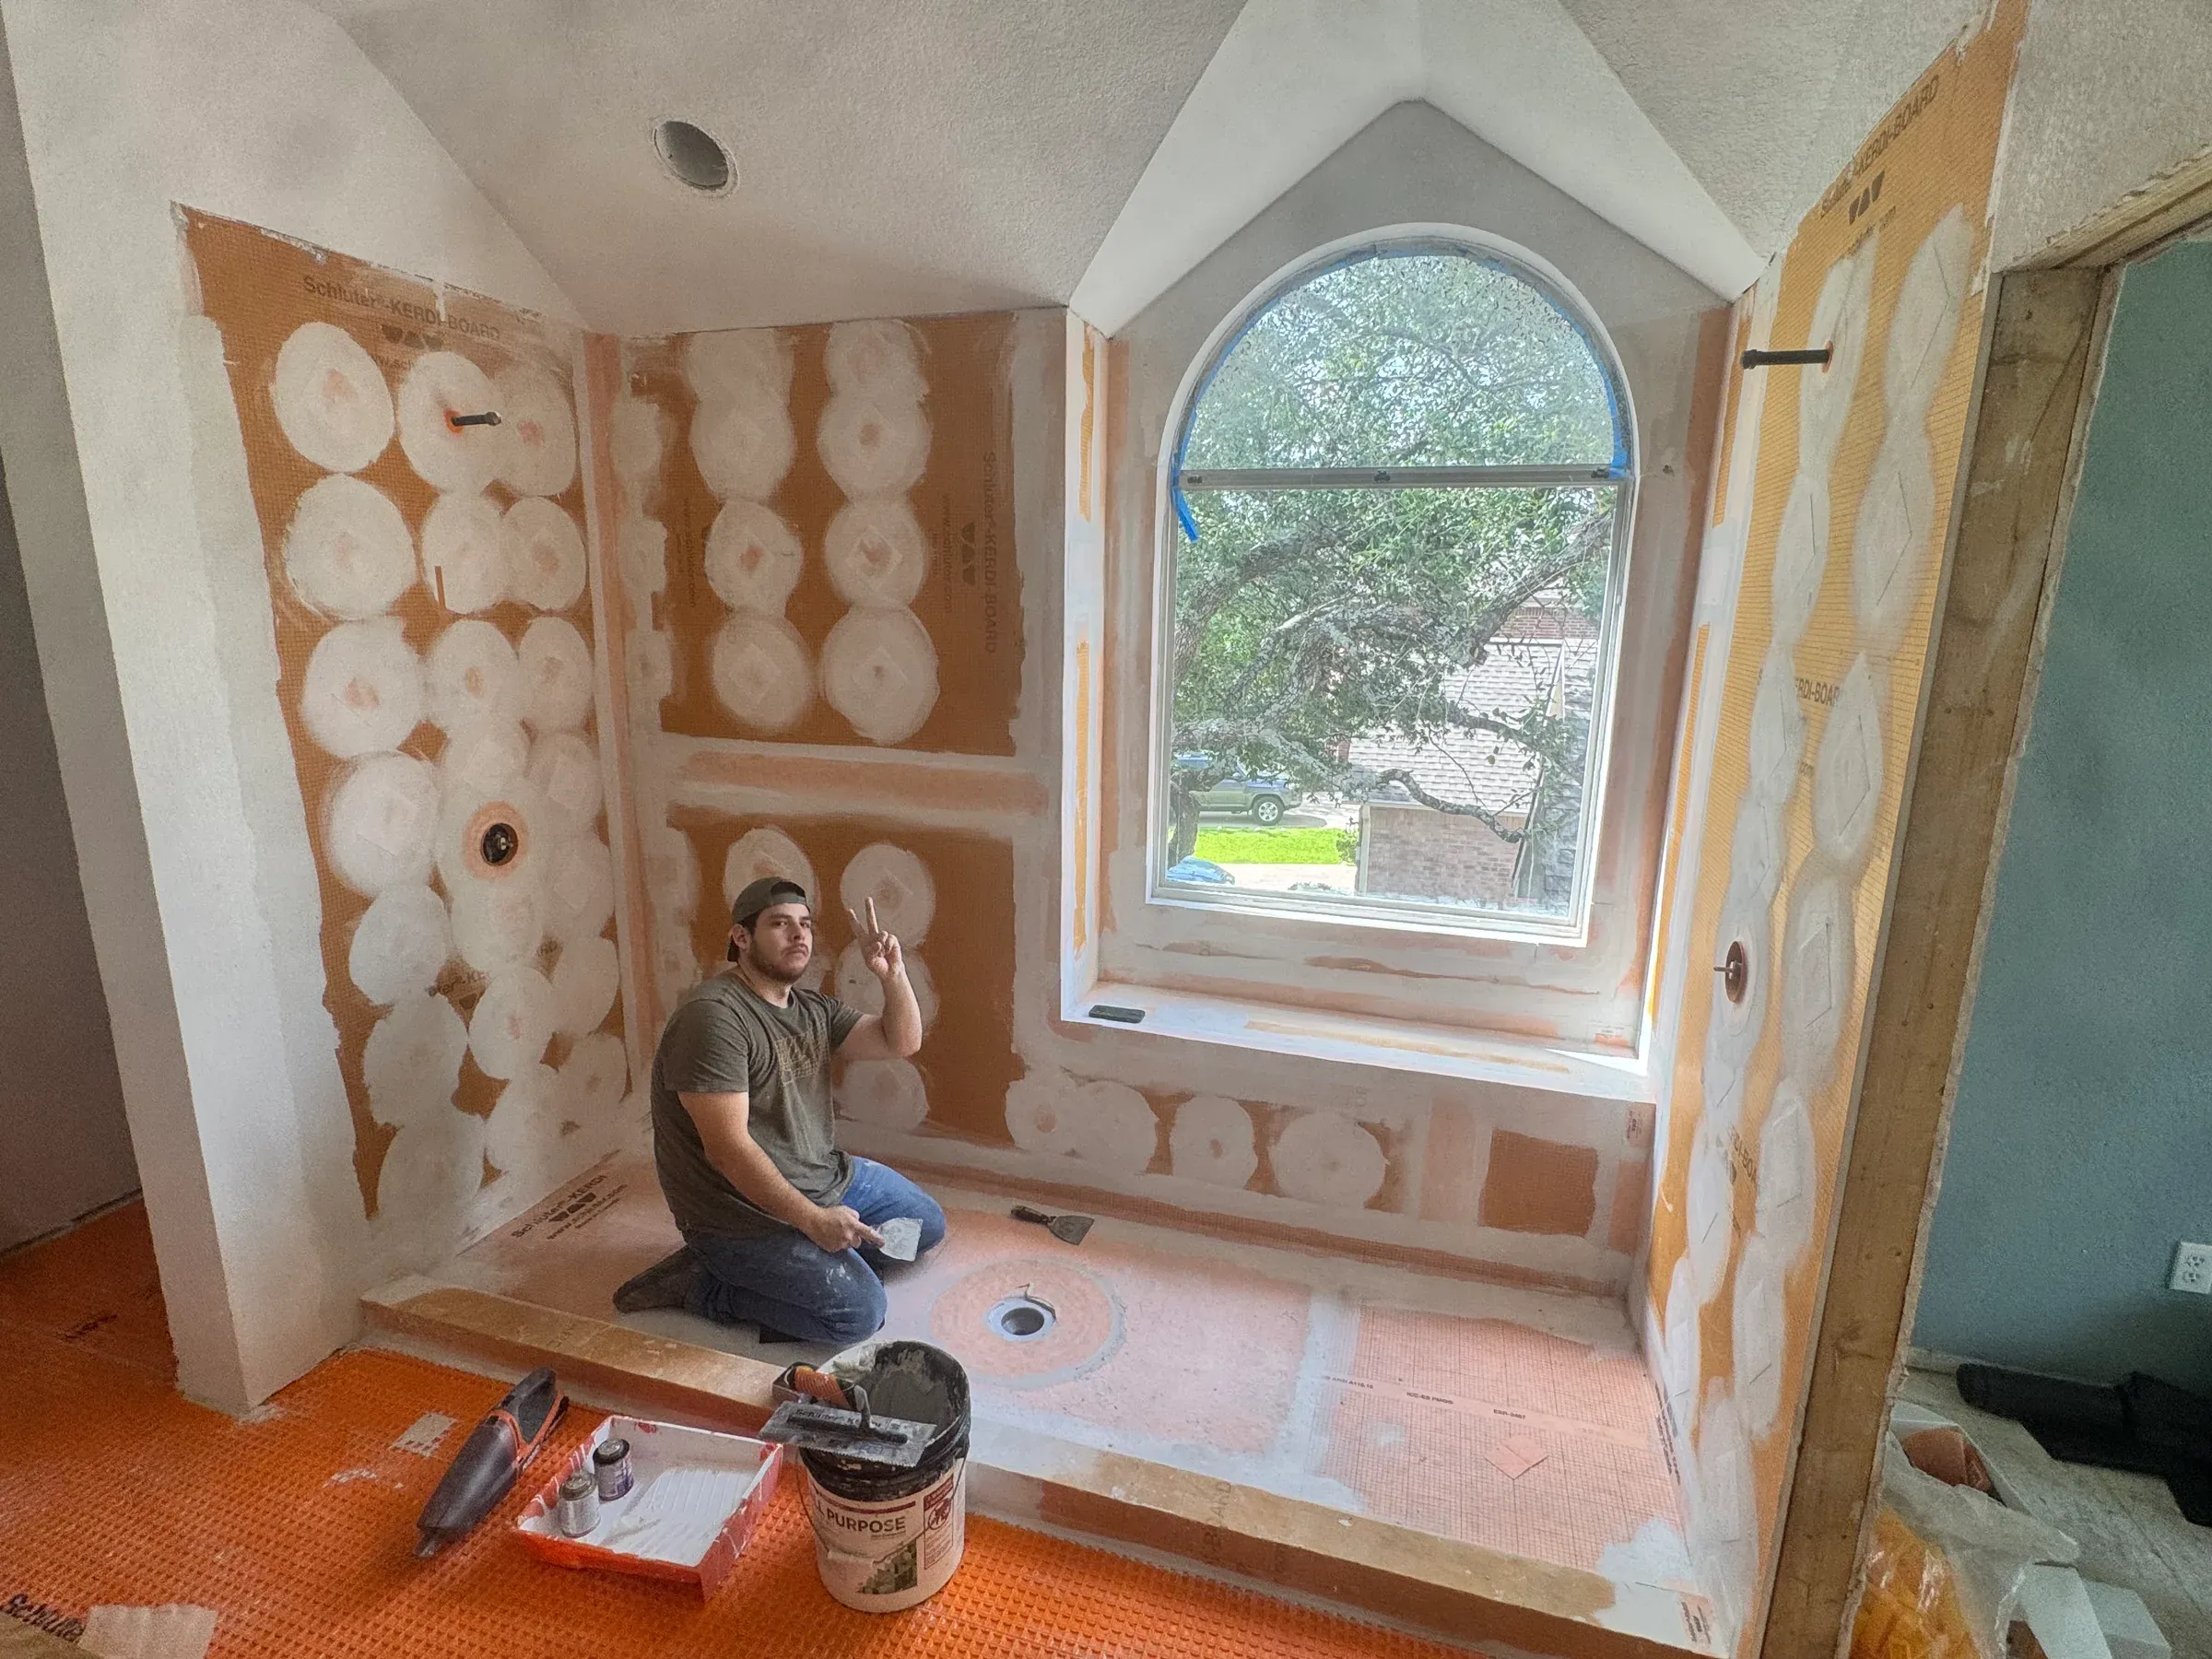
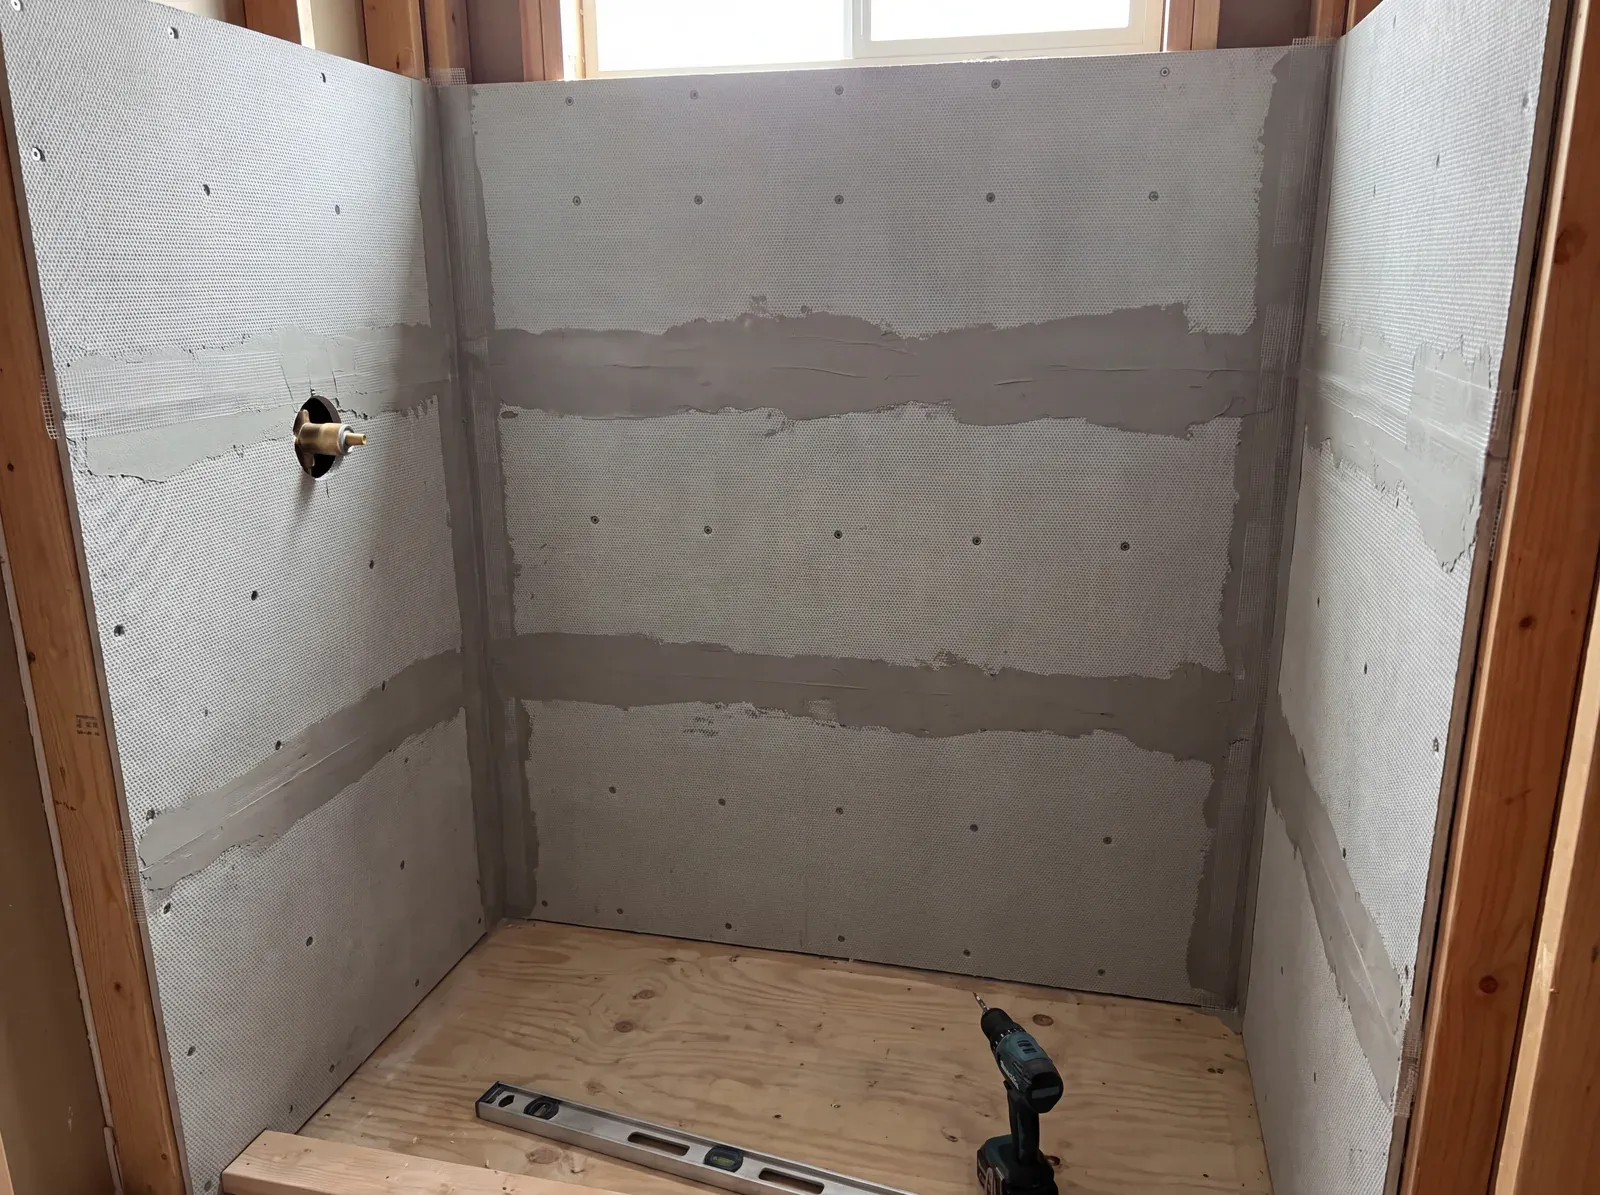
Replacing greenboard with cement board in all wet areas eliminates the primary food source for mold behind tile. Adding a waterproofing membrane before tile is set creates a continuous barrier regardless of what happens at grout joints over time. What this requires during a remodel:
Greenboard removed from all shower, tub, and wet wall areas.
Cement board installed: a non-organic, moisture-resistant substrate.
Waterproofing membrane applied to the cement board surface before tile is set.
Seams and penetrations sealed: corners, shelf niches, and plumbing cutouts are the failure points.
This is standard on every Enso mold-resistant build, specified in the design phase before demo begins, not a mid-construction decision.
Exhaust ventilation
Both criteria matter: correct sizing and correct ducting. Getting one right without the other doesn't solve the problem.
Fan sizing: minimum 1 CFM per square foot; large or open bathrooms need more. An undersized fan runs constantly and still doesn't move enough air.
Duct routing: always to an exterior termination, through the roof or soffit, never into the attic. Attic-vented fans create a moisture source inside the ceiling assembly.
Fan location: positioned over or near the shower, not on the opposite wall where moisture accumulates before reaching it.
Ongoing humidity management
Even a well-built home benefits from active humidity management during Austin's summer months. Low-effort practices that meaningfully lower risk:
Annual HVAC maintenance: a poorly maintained system loses dehumidification efficiency before it loses cooling capacity.
Check under sinks seasonally: the cabinet under the kitchen sink is the most likely location for a slow undetected leak.
Crawl space inspection every few years if your home is pier-and-beam. Most owners never go under their houses.
Supplemental dehumidifier in poorly ventilated rooms or any area with a persistent musty odor between renovations.
ERV consideration on full renovations: an energy recovery ventilator addresses the tension between tight construction and adequate ventilation in Austin's climate.
Frequently asked questions
The why, where, and what-to-do questions are answered above. These are the leftovers homeowners ask most often.
Mold color doesn't reliably indicate toxicity. The CDC and EPA both recommend addressing mold regardless of type, because any growth signals a moisture problem that needs resolution. Some people are more sensitive to mold than others and may notice respiratory or allergic responses; health concerns are best directed to a physician rather than a contractor or inspector. Our focus is on the building conditions: finding the moisture source and correcting the system so mold can't return.
Mold found. Now let's figure out what's actually there
The design phase is where we assess what's behind the walls before anything opens, and no scope gets defined before the problem is understood.