What to Expect During a Bathroom Remodel

Most bathroom remodel horror stories aren't about the finished room. They're about the process: no shower for six weeks with no warning, tile showing up two weeks late because nobody ordered it before demo, a contractor who went silent for four days. The work itself, done correctly, takes 4 to 6 weeks for a standard remodel. The chaos comes from skipped planning, not the work.
This guide maps what actually happens during a bathroom remodel in Austin, phase by phase, so you know what's coming before it arrives. It also covers the single most important thing most contractors won't tell you until it's too late: the decisions that have to be made before demo begins, and what happens when they aren't. On the price side, a hall or guest bath typically runs $25K–$35K, a primary bath $35K–$50K, and primary suite reconfigurations start around $60K.
How long does a bathroom remodel take?
The honest answer depends on scope. These ranges come from completed Austin projects, not national averages, and they assume all materials are ordered and delivery-confirmed before demo begins, which is the only timeline worth planning around. Ordering tile after demo starts quietly adds 1 to 3 weeks before a single tool hits a wall.
| Scope | Typical timeline | What's involved |
|---|---|---|
| Cosmetic refresh | Shorter; dated in your schedule before demo | New vanity, fixtures, lighting, paint. Existing tile stays. No plumbing relocation. |
| Standard remodel Most common | 4–6 weeks | New tile, fixtures, and vanity in the same footprint. Full waterproofing and substrate work. |
| Full remodel, layout changes | 4–6 weeks | Plumbing relocation, shower pan reconfiguration, wall moves, permit-required work. |
| Primary suite renovation | Longer; dated in your schedule before demo | Large format tile, custom shower enclosure, freestanding tub, radiant floor, full suite coordination. |
Ranges from completed Austin projects. Every row assumes materials are delivery-confirmed before demo day one.
The seven phases of a bathroom remodel
What follows is what a well-run bathroom remodel actually looks like: the sequence of work, why each phase happens when it does, and what to watch for at each stage. The phases build on each other. Skipping or rushing any one of them creates a problem downstream.
Design and pre-construction
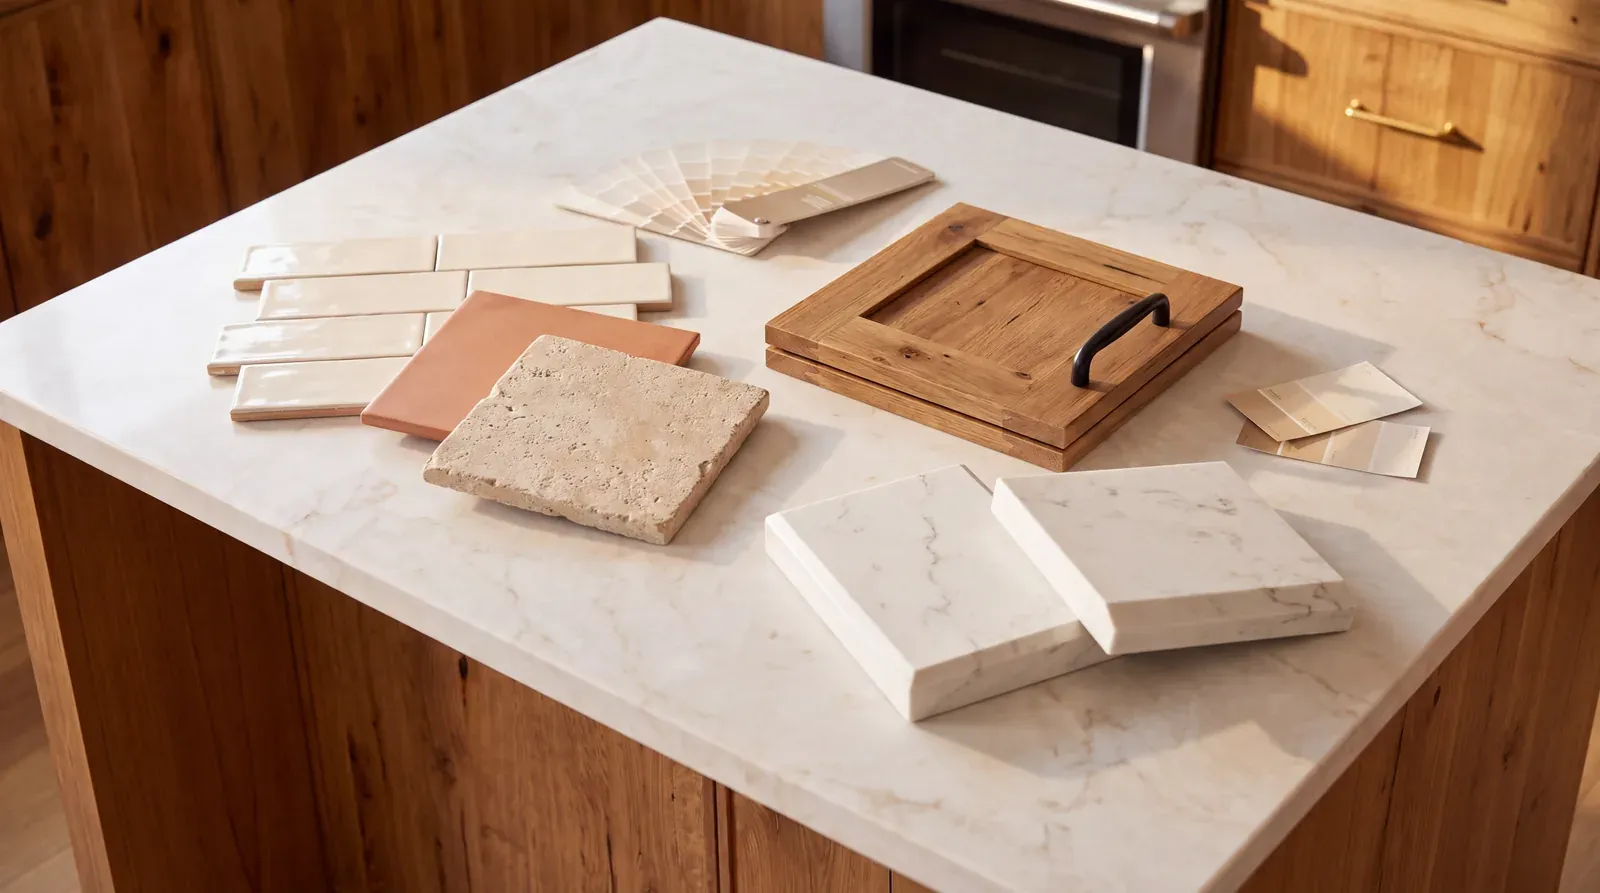
2–4 weeks before demoThis phase happens before anything touches your bathroom. Drawings are finalized, permits are pulled, and every material, from tile to vanity to fixtures to accessories, is selected, ordered, and delivery-confirmed. Nothing starts on site until this is complete.
The reason this matters: tile and custom vanities have lead times, sometimes 3 to 6 weeks. A contractor who starts demo before materials are on order is building a delay into the project on day one. You'll get to the point where the substrate is done, waterproofing is done, everything is ready for tile, and the tile isn't there. The job sits. That's not bad luck; it's a sequencing choice. At Enso, the design phase is where every decision gets made, and the project doesn't proceed to demo until every item is on order with a confirmed delivery window inside the construction timeline.
Demo
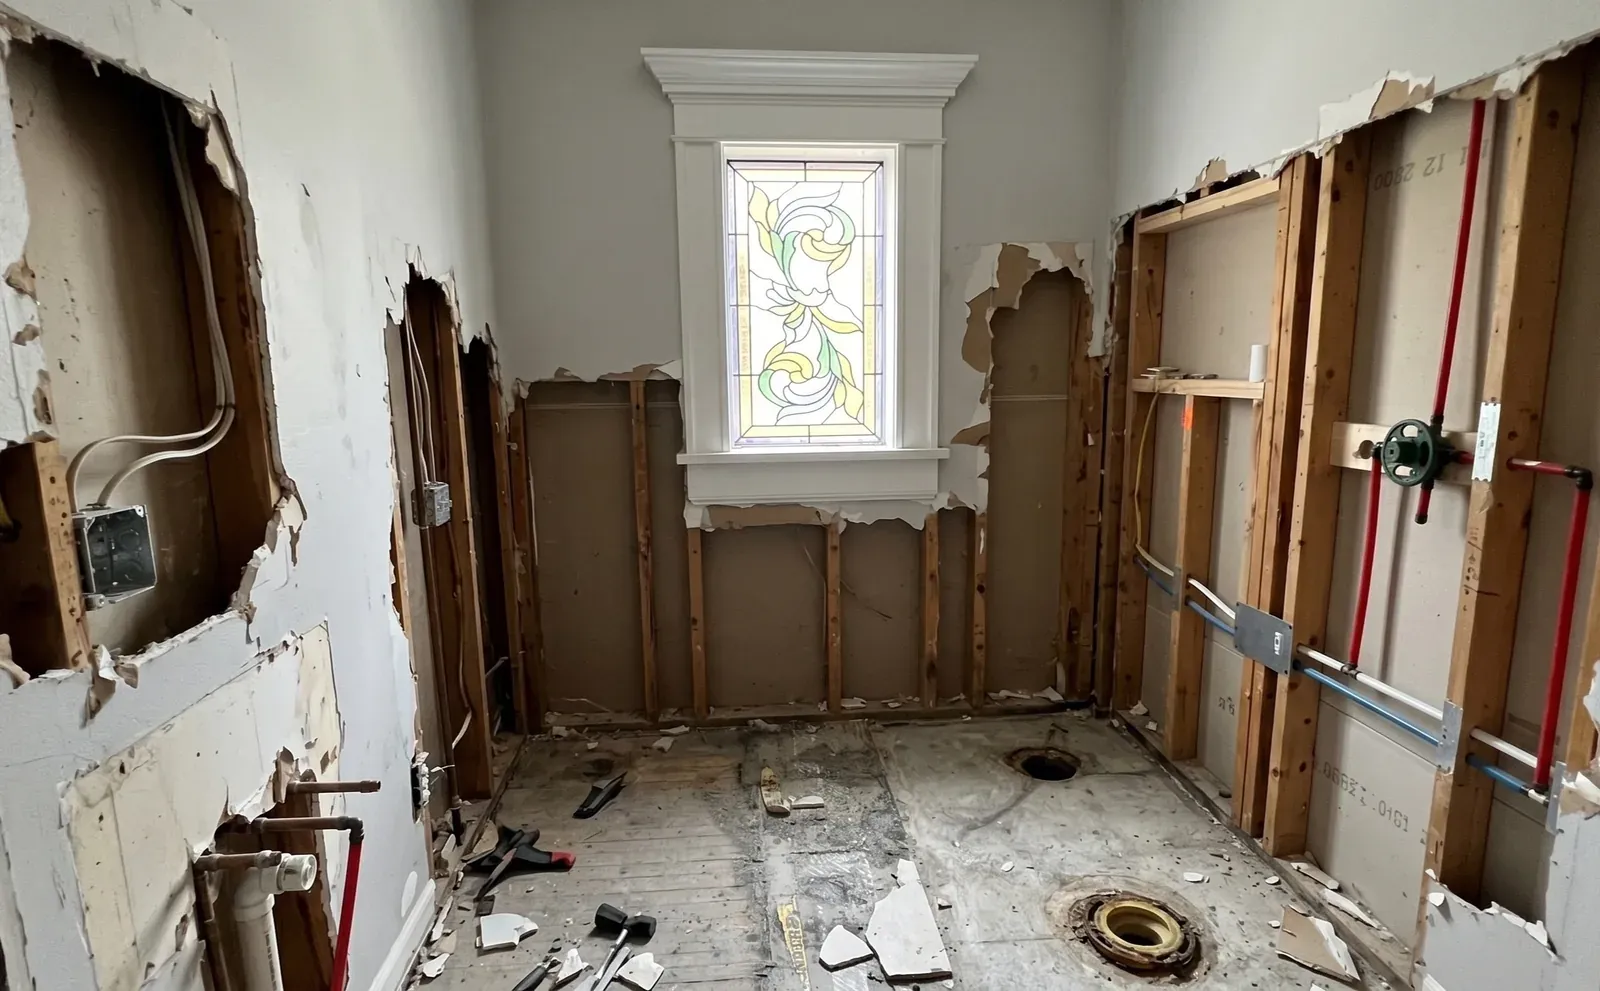
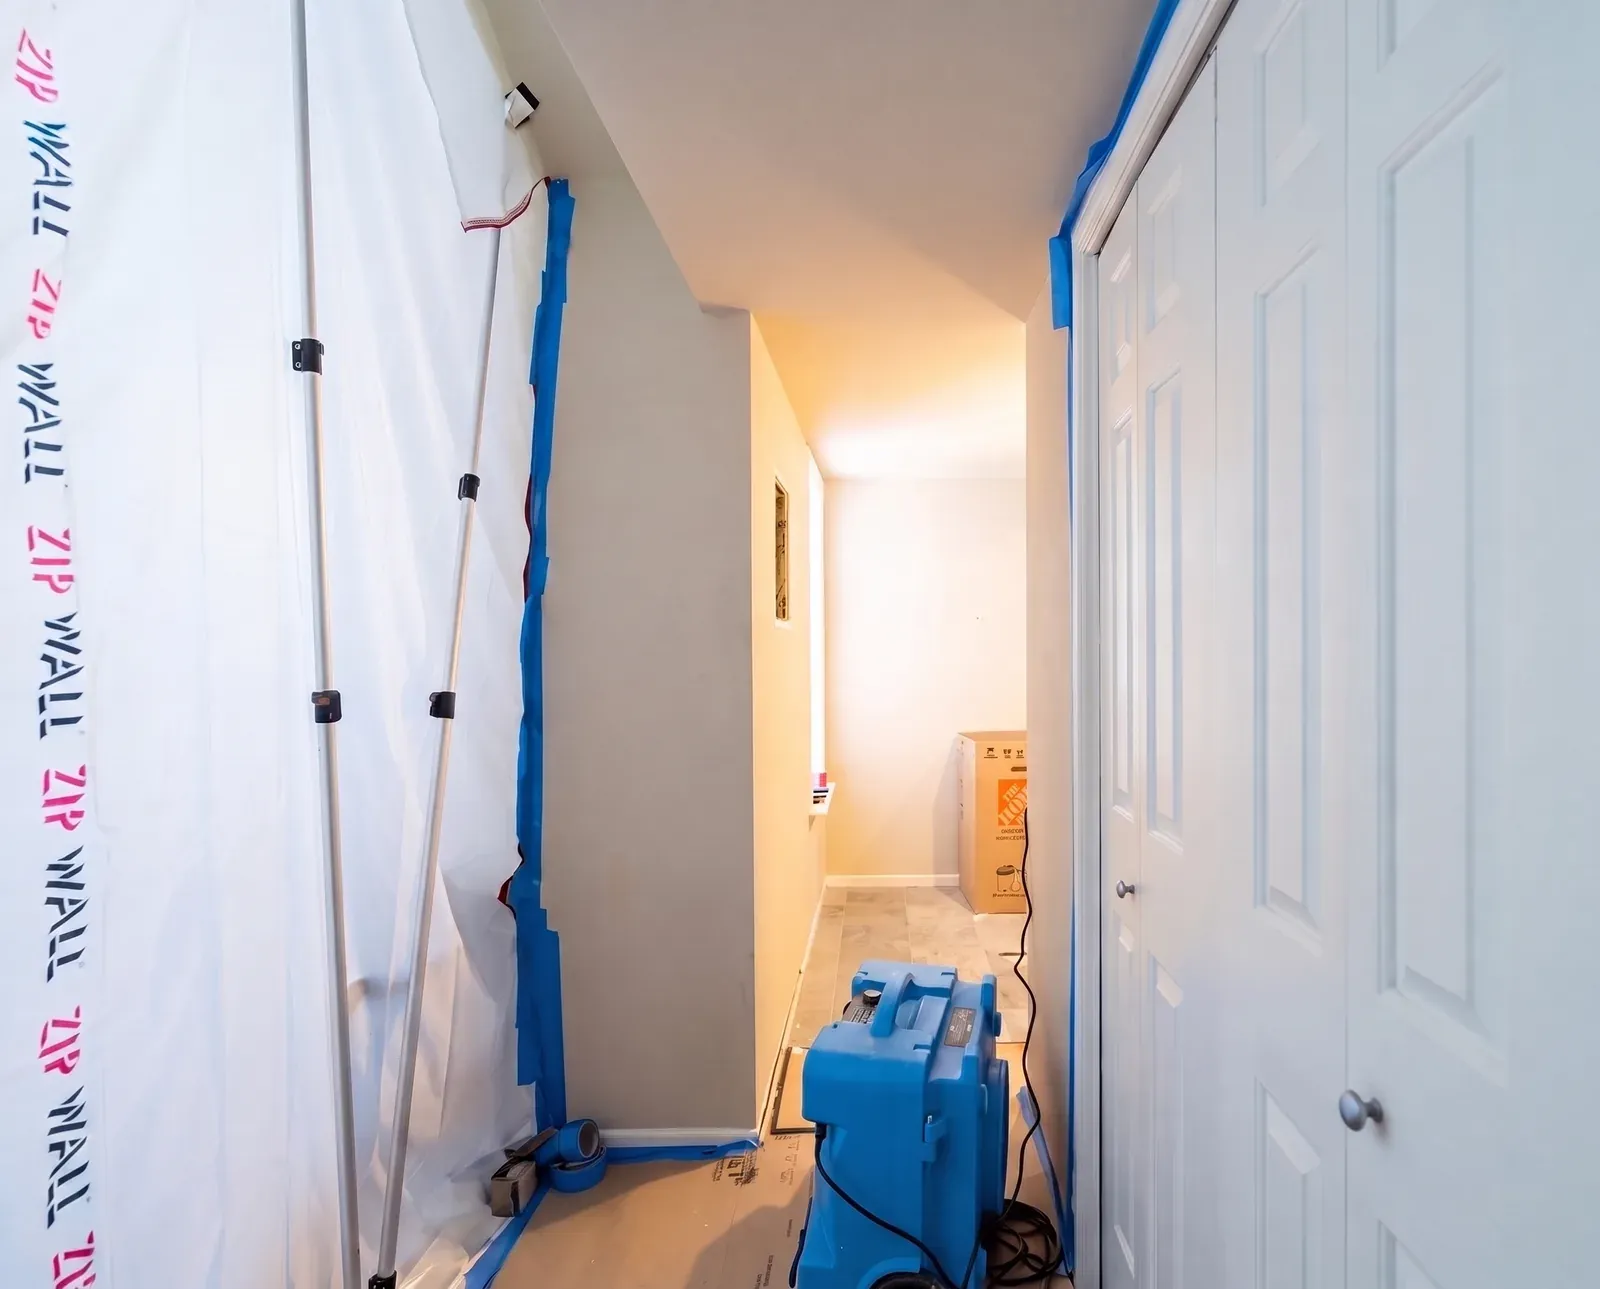
Days 1–3Demo is the loudest, dustiest phase of the project. Existing tile, fixtures, the vanity, and the substrate are removed, and once the walls are open the actual condition of the framing and substrate becomes visible and documented. HEPA containment is established before demo begins, not after: barriers seal the bathroom from adjacent living areas before the first tile comes off the wall, because dust spreads faster than most people expect, particularly in older Austin homes where interior walls aren't tightly sealed.
The most common unexpected condition in Austin bathroom demos: mold behind tile in homes built before 2000, particularly where greenboard was used behind shower tile. When demo reveals it, remediation and substrate replacement add 1 to 3 days. It's not a crisis, but it's a reason to understand what's behind your tile before you commit to a timeline.
Rough-in and mechanical work
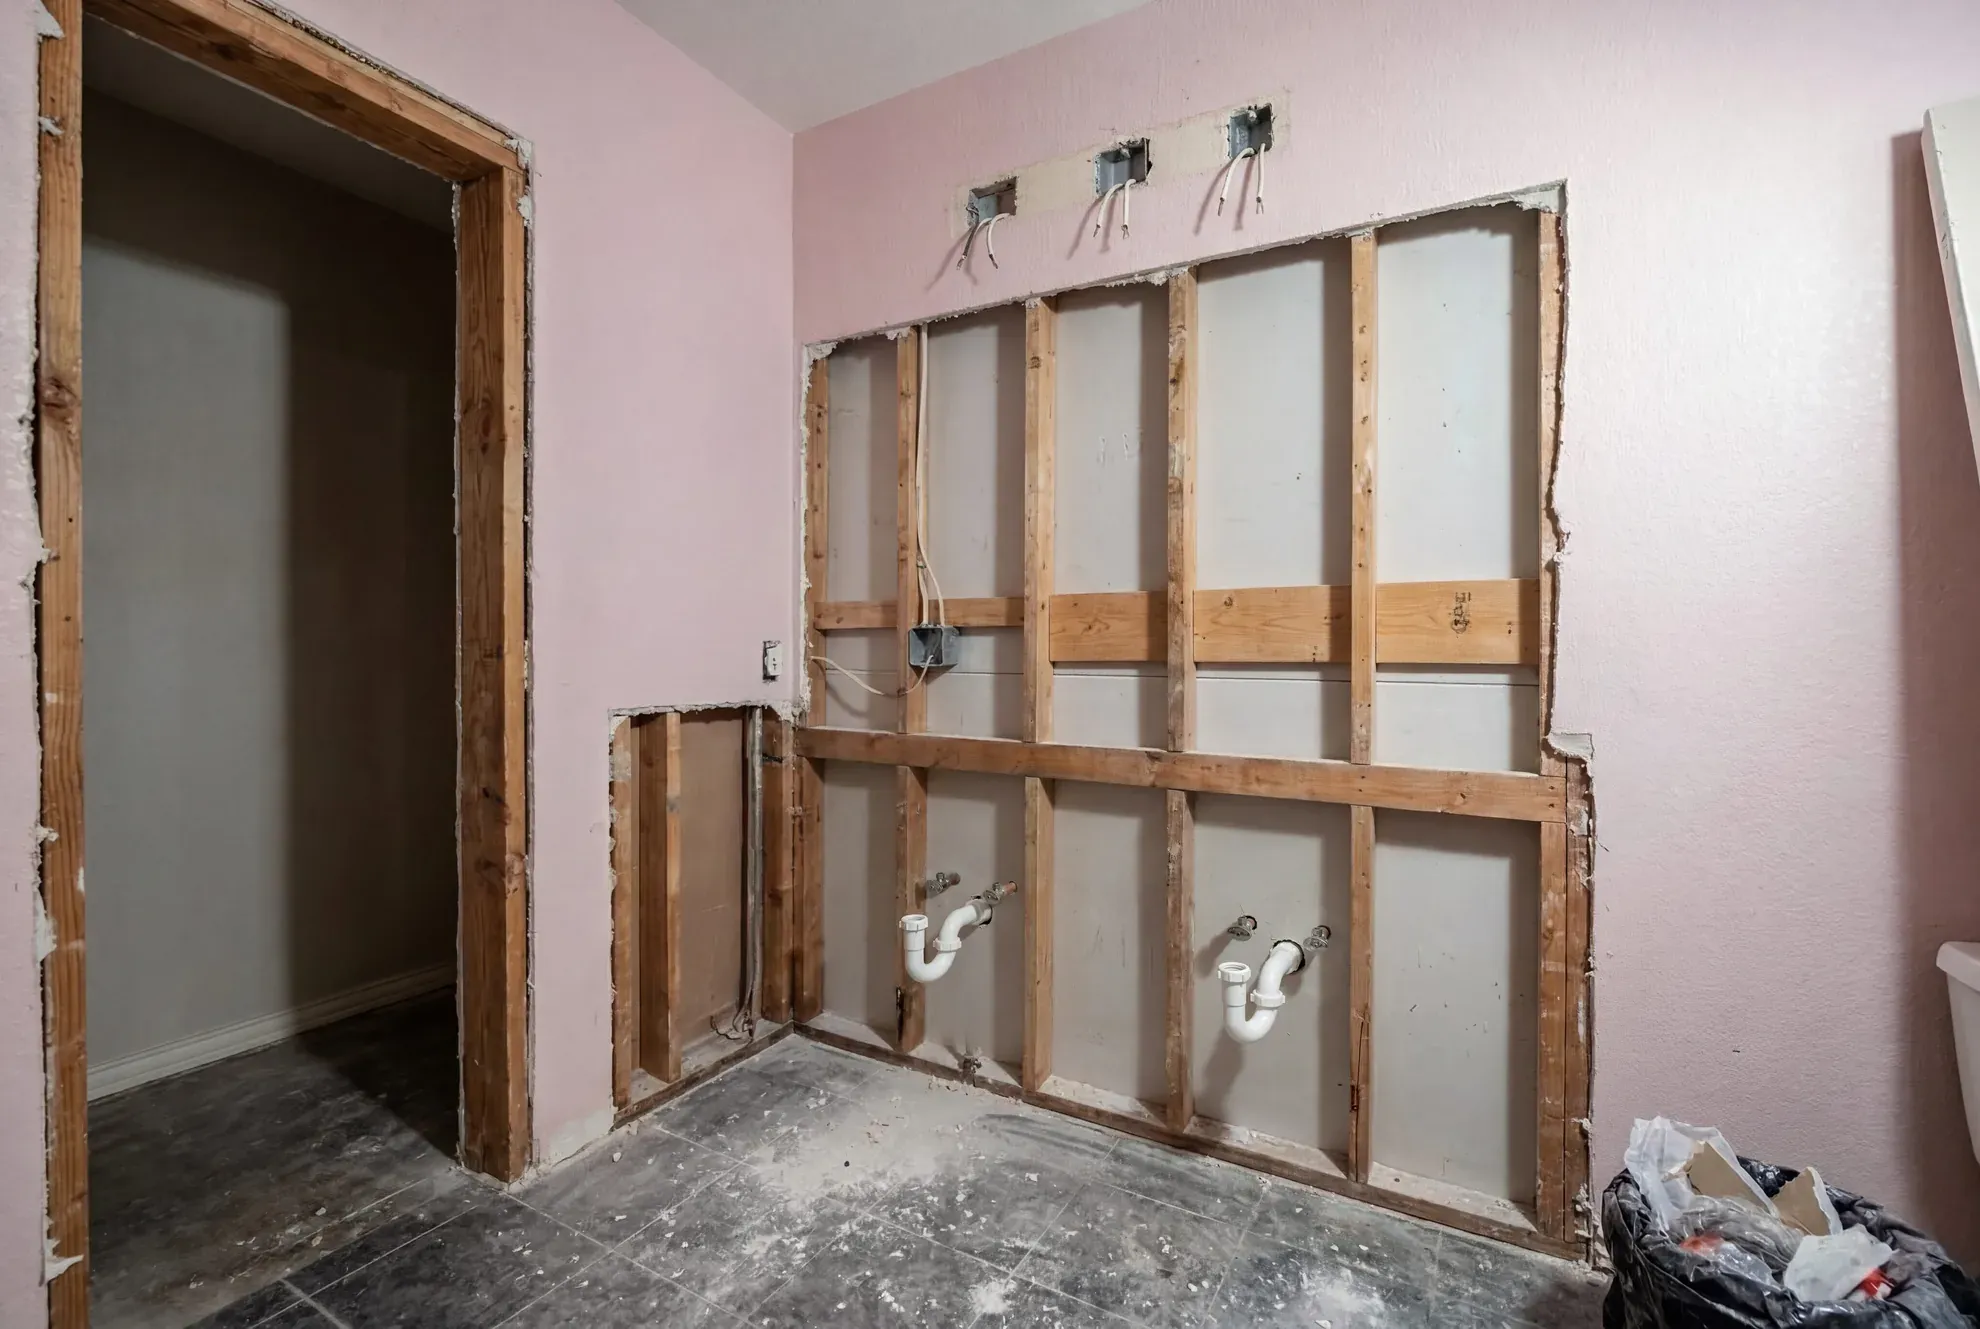
Weeks 1–2With the walls open, all the mechanical work happens: plumbing rough-in if the layout is changing, electrical rough-in for new lighting and outlets, heated floor wiring if specified, and the exhaust fan rough-in if the existing fan is being upgraded. This is where design decisions from phase one get locked into the walls. Anything that requires open walls, like layout changes or extra outlets, is dramatically more expensive once they close.
Inspections typically happen at the end of rough-in, before the walls close. A contractor who skips the rough-in inspection to save a day is skipping the only opportunity the city has to verify the mechanical work before it's permanently enclosed.
Waterproofing and substrate
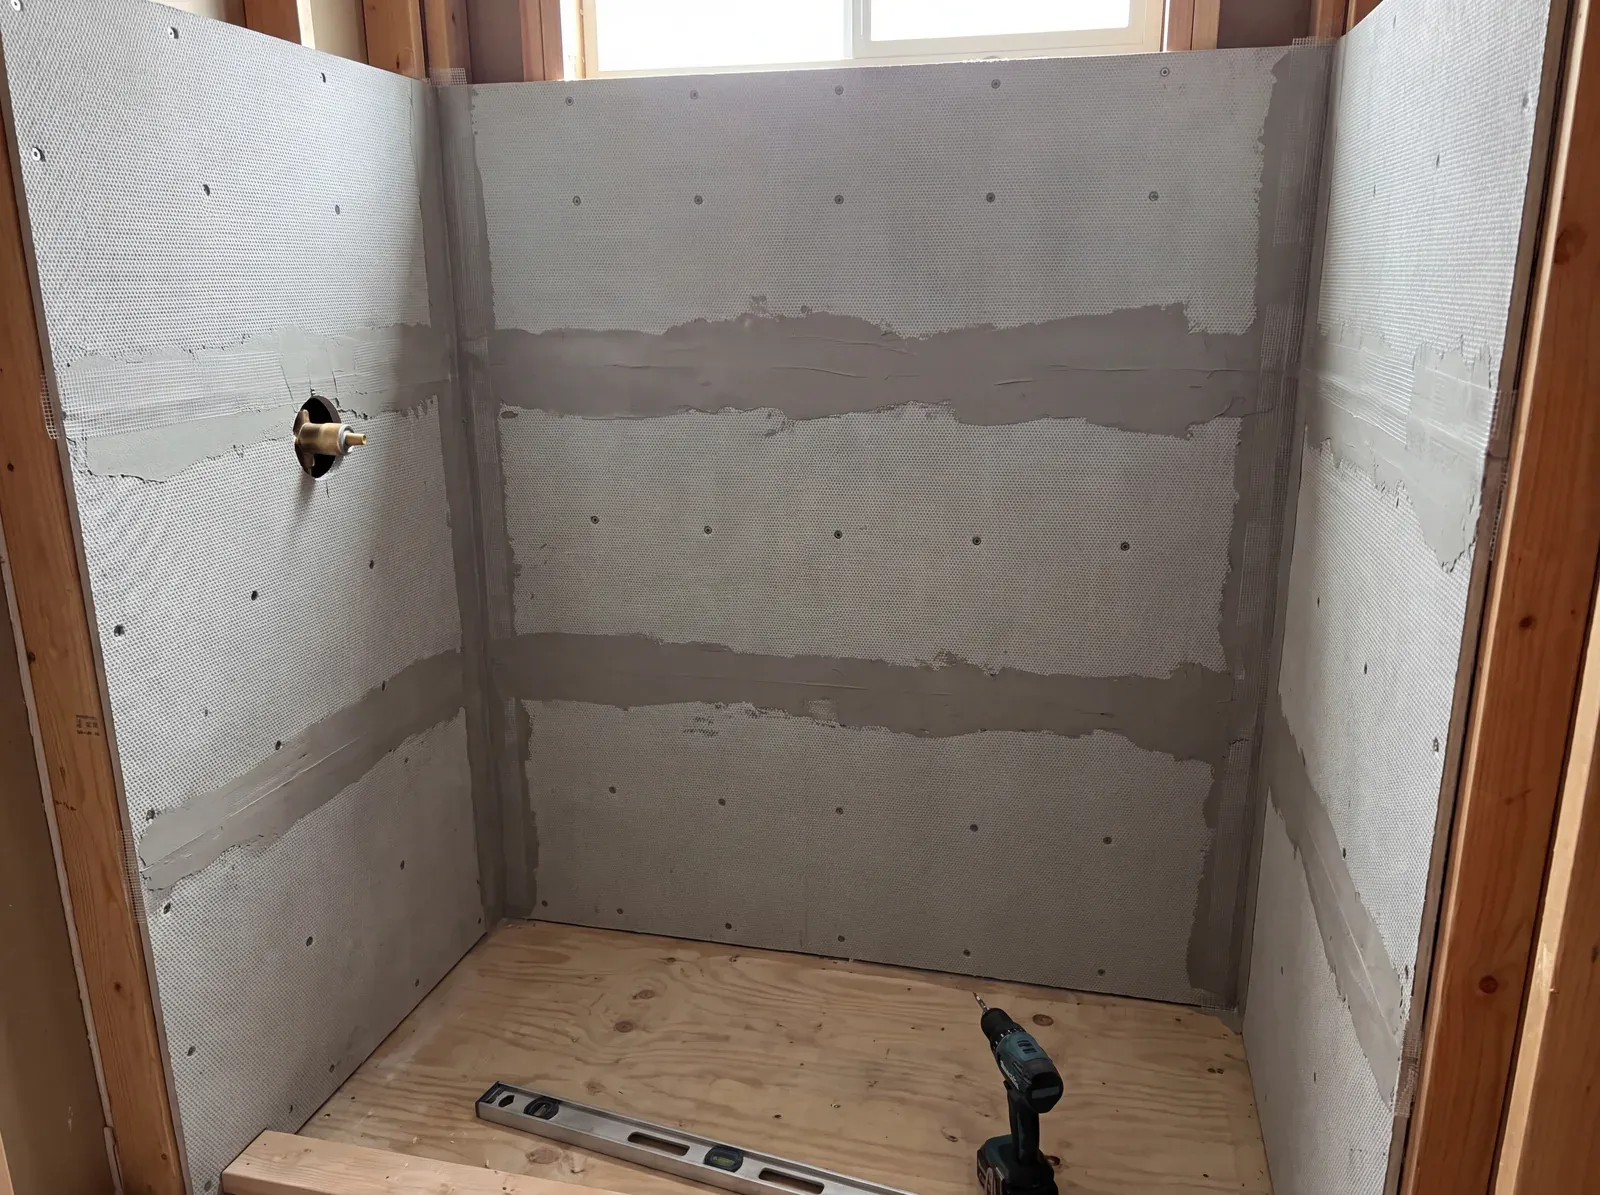
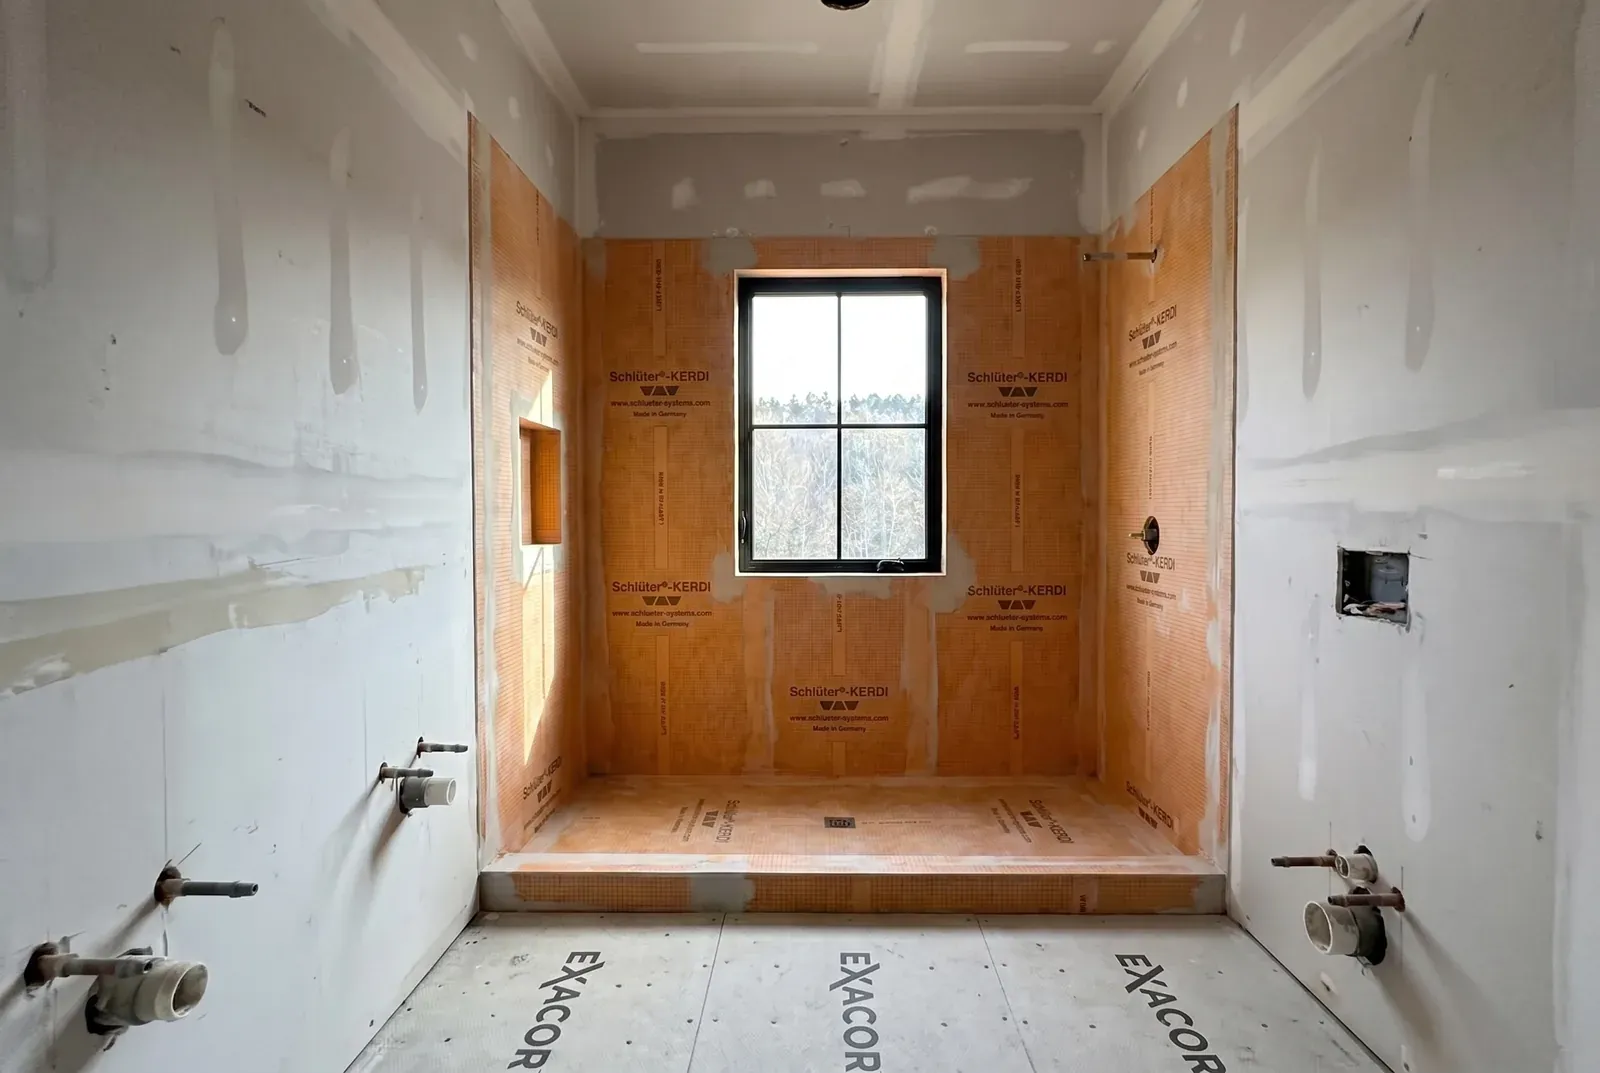
Weeks 2–4This is the most important phase nobody sees. The waterproofing layer behind the tile is what separates a bathroom that stays structurally sound for 20 years from one that develops concealed mold in three to five. It's invisible once the tile goes up, which is exactly why shortcuts get taken.
The substrate matters as much as the membrane. Greenboard was used for decades and is still installed by some contractors because it's cheaper; it is not waterproof, and behind shower tile it absorbs moisture and eventually fails. The correct specification is cement board or a foam substrate on all wet surfaces, combined with a full waterproofing membrane applied before any tile goes down.
| Greenboard only | Cement board, no membrane | Cement board + membrane | |
|---|---|---|---|
| Moisture resistance | ✕ Not waterproof; absorbs water behind tile over time | ◐ Doesn't absorb, but seams allow penetration | ✓ Full barrier; water has no path to framing |
| Mold risk, 5-year | ✕ High; often invisible until a full gut is required | ◐ Lower, but seam pathways remain over time | ✓ Minimal; no moisture access to structure |
| Tile bond durability | ✕ Degrades with moisture; grout cracking follows | ◐ Stable bond, but unsealed seams still move | ✓ Stable across the surface; an integrated system |
| What it costs to fix | ✕ Full gut: remediation plus new substrate and tile on a future remodel | ◐ Partial; tile and grout repair if caught early | ✓ No remediation; the system is designed to hold |
What Enso specifies: cement board plus a full membrane (Schluter Kerdi, RedGard, or equivalent) on all wet surfaces, inspected before any tile goes down. Not an upgrade; the baseline.
Want to see this process priced for your bathroom
We walk through every phase before demo begins.
Tile setting
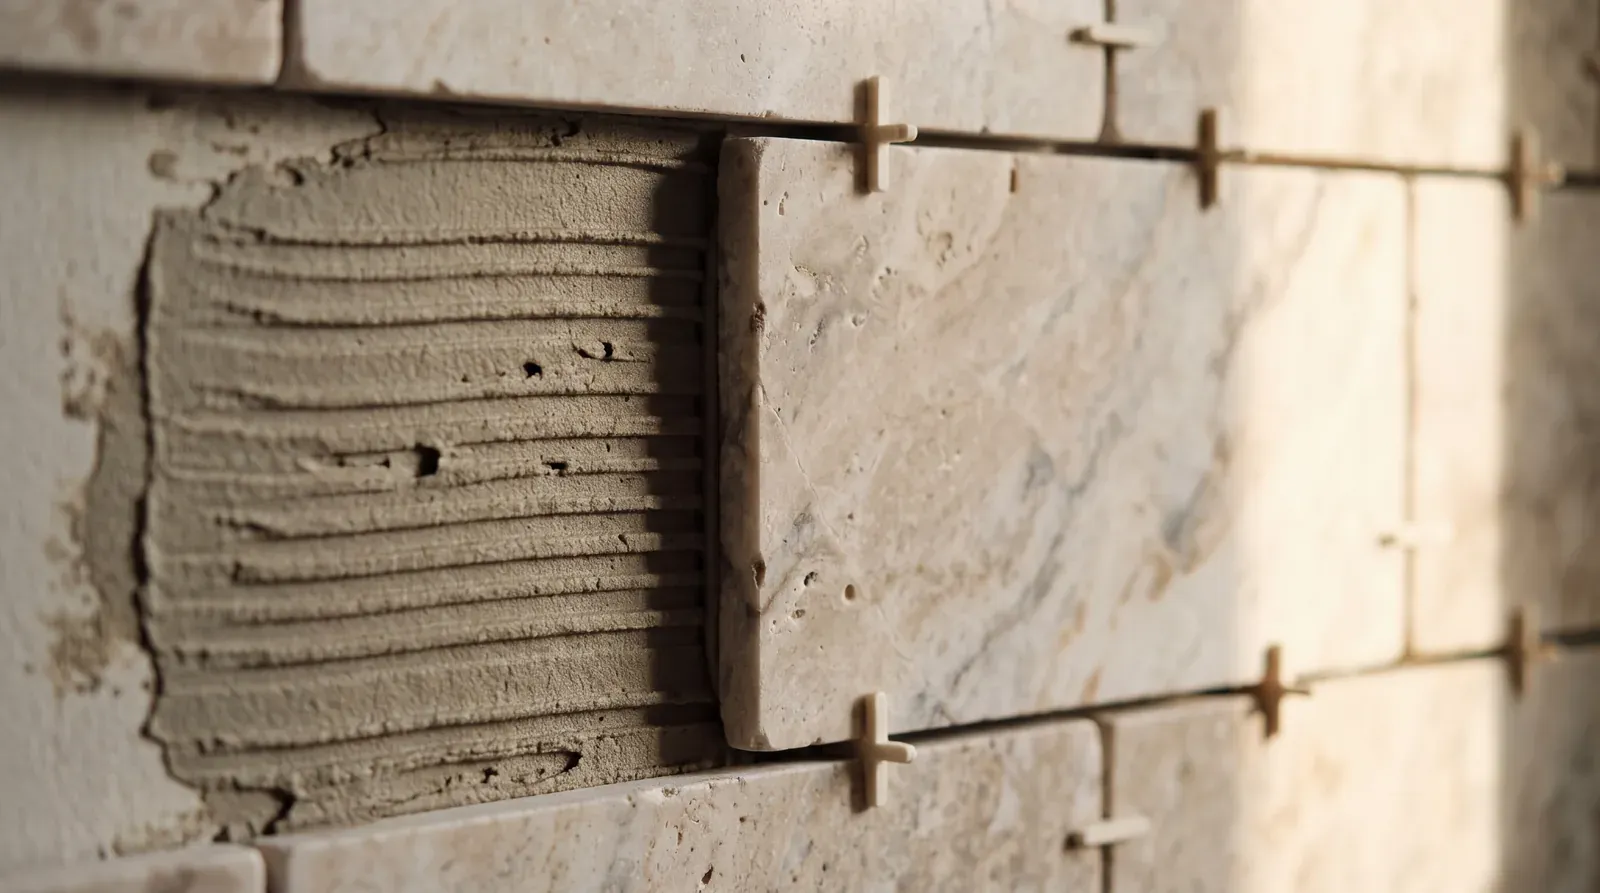
Weeks 4–6Floor tile is set first, then wall tile. Grout is applied only after the adhesive has fully cured, a minimum of 24 to 48 hours and longer for large format tile. This is not a step that can be compressed: rushing grout before the thinset cures creates cracked grout, movement at the joints, and eventual water infiltration.
Large format tiles and complex patterns extend this phase; a herringbone wall takes longer than a running bond. Those choices are made during design, priced in, and scheduled before demo, so there are no surprises. Tile-cutting is the loudest part: the wet saw runs regularly through this phase, and there's no access to the shower or tub area during setting. Plan accordingly if this is your primary bathroom.
Fixture and vanity installation
Weeks 4–6This is the fastest visible transformation in the project. The vanity, toilet, shower fixtures, mirrors, lighting, and accessories go in; plumbing and electrical connections are completed and tested; the bathroom goes from bare tile to finished room. Because every fixture was ordered before demo, this phase has no waiting: the vanity is in the garage, the fixtures are in the box, and the electrician knows exactly what's going in and where.
Final grouting, caulking, and trim close the phase. The caulk line at the tub-to-tile junction and the shower pan edge is a detail most homeowners never notice, until it fails. Proper application and cure time here is what keeps water from migrating behind the finished surface at the transitions.
Punch list and final walkthrough
Weeks 4–6The walkthrough happens with you and your project lead, together, in the finished space. You and your project lead build the punch list together, and most clients are surprised by how short it is. Nothing is considered complete until you've walked the space and signed off; that's a structural part of how we build, not a formality. The three-month follow-up walkthrough is scheduled at this point.
"The length of the punch list is a reliable indicator of how much attention was paid throughout construction."
What actually disrupts your home
The disruption profile is different from a kitchen remodel. You can live around a gutted kitchen; you cannot live around a gutted primary bathroom the same way. Plan for what's actually going to change in your daily life:
The decisions that can't wait
Every choice that affects the structure of the project has to be made before demo begins. Not because it's a rule; because changing these things mid-project costs money and adds time. The design phase exists to resolve all of them in advance.
- 1.
All materials on order before demo. Tile, vanity, fixtures, mirrors, lighting, accessories. A material that isn't delivery-confirmed is a timeline risk.
- 2.
Layout changes decided before rough-in. Moving a toilet, relocating the drain, adding a second sink: all require open walls. Once they close, revisiting means reopening.
- 3.
Heated floor wiring before rough-in. Radiant systems install before tile goes down. After rough-in, adding one means removing tile.
- 4.
Additional electrical before rough-in. Outlets and lighting circuit upgrades follow the same logic. Walls open once.
- 5.
Tile pattern direction before tile setting. Running bond, herringbone, stacked vertical: direction affects labor time and tile waste. Lock it before tile setting begins.
Working with a contractor who uses a complete design phase means these decisions are resolved weeks before demo day; you're not getting calls from the job site asking which way the tile should run. For how the same logic applies to kitchens, see What to Expect During a Kitchen Remodel, or run the cost calculator to put a range on your own scope first.
Leftover questions
The phases and decisions are covered above. These are the practical questions that come up once a project feels real.
For a primary bathroom remodel, plan to be without it for the full project duration, typically 4 to 6 weeks depending on scope. You will need an alternative shower plan: a guest bath in the same home, a gym membership, or staying with family for the loudest phases are all options homeowners have used. Secondary bathroom remodels are significantly less disruptive because your primary stays functional throughout.
Ready to see this process for your bathroom?
Bring your scope to a 15-minute video call. You'll leave with real next steps, whether or not we build together.